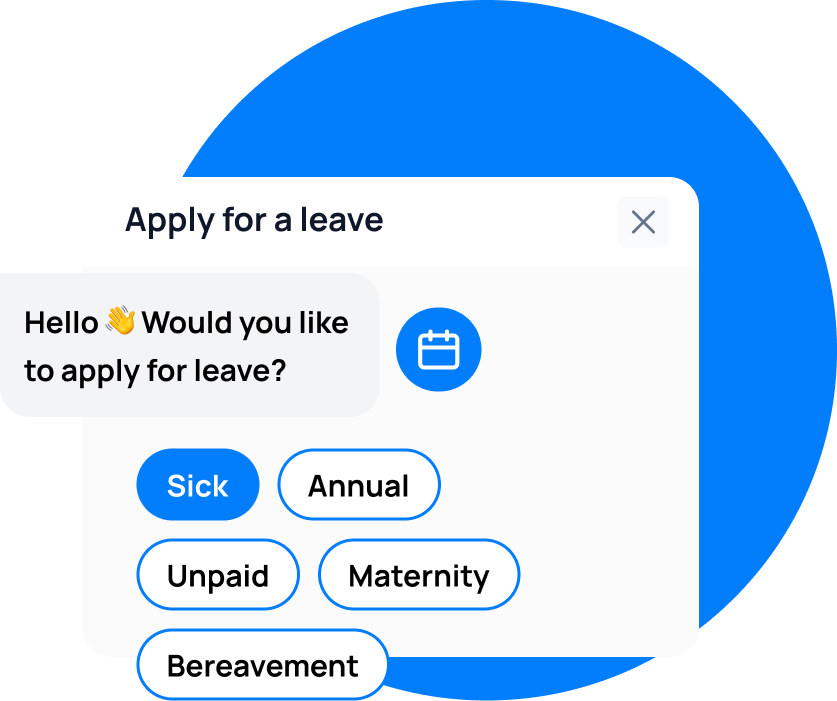
When a new employee joins, they need to know how to request leave, check their balances, and understand their entitlements. The Leave Balance employee self-service portal puts all of this in one place. Employees do not need to email HR to check a balance, do not need to ask their manager what leave types are available, and do not need to search through an employee handbook for the leave policy. The portal is their single source of truth for everything leave-related.
This walkthrough is designed for new team members who are seeing Leave Balance for the first time. It covers every screen, every feature, and every common question.
Key Takeaways
- The self-service portal lets employees check balances, request leave, and view policies without contacting HR
- New employees can complete the walkthrough in under 10 minutes
- The portal is accessible from any device — desktop, tablet, or phone
Your First Login
Step 1: Sign In
When your HR team sets up your account, you receive an email with a link to sign in to Leave Balance. Click the link and follow the prompts to set your password. If your organisation uses SSO, you will be redirected to your identity provider instead.
Step 2: Complete Your Profile
After signing in, you are prompted to complete your profile. This includes:
- Confirming your name and email address
- Adding your phone number (optional, used for notifications)
- Setting your notification preferences (email, push, or both)
- Reviewing your leave policy assignment
Step 3: Review Your Leave Policy
Your profile page shows the leave policy assigned to you. This includes:
- The leave types available to you (Annual Leave, Personal Leave, etc.)
- Your entitlement for each type (number of days per year)
- Accrual rules (how you earn leave over time)
- Carryover rules (what happens to unused leave at year end)
- Public holidays for your location
Navigating the Portal
Home Screen
The home screen is your dashboard. It shows:
- Leave Balances: Your current balance for each leave type, displayed as a number and a progress bar
- Pending Requests: Any requests waiting for approval
- Upcoming Leave: Approved leave that has not yet occurred
- Recent Activity: Your latest leave actions (submitted, approved, cancelled)
Requesting Leave
- Click “Request Leave” from the home screen
- Select the leave type from the dropdown
- Choose your dates using the calendar
- Add an optional note for your manager
- Attach a document if required (e.g., medical certificate)
- Review the summary and click “Submit”
Your request is sent to your manager for approval. You will see it in your “Pending Requests” section until it is approved or rejected.
Viewing the Team Calendar
The calendar tab shows who is out on any given day. This helps you plan your leave around team availability. You can see:
- Team members who are on leave each day
- The type of leave (unless restricted by your policy)
- Public holidays for your location
- Your own approved leave
Checking Your Leave History
The history tab shows all past leave requests with their status:
| Status | Meaning |
|---|---|
| Pending | Waiting for manager approval |
| Approved | Leave has been approved and is on the calendar |
| Rejected | Request was denied (with reason if provided) |
| Cancelled | You cancelled the request before it was approved |
Click any request to see the full details, including manager comments.
Managing Your Profile
From the profile tab, you can:
- Update your phone number and notification preferences
- Change your password
- View your employment details (policy, department, manager)
- Download a PDF summary of your leave balances and history
Common Tasks for New Employees
| Task | Where to Find It |
|---|---|
| Check my leave balance | Home screen → Leave Balances |
| Request annual leave | Home screen → Request Leave → Annual Leave |
| See who’s out this week | Calendar tab |
| Download my leave summary | Profile tab → Download Summary |
| Cancel a pending request | Home screen → Pending Requests → Cancel |
| View my leave history | History tab |
Best Practices
- Complete your profile on day one. Make sure your notification preferences are set and your contact details are correct. This ensures you receive leave-related notifications from the start.
- Read your leave policy. The policy section explains your entitlements, accrual rules, and carryover limits. Understanding this upfront prevents surprises later.
- Check the team calendar before requesting leave. If multiple team members are already out on your preferred dates, consider alternative dates to reduce impact.
- Use the mobile app. The portal works on any device, but the mobile app provides push notifications for faster updates on approvals and rejections.
- Ask HR if something is unclear. If your balances do not match what you expected, or if a leave type is not available to you, contact your HR team. The portal shows what has been configured for your profile.
FAQ
Can I see other employees’ leave balances?
No. The employee portal shows only your own balances and the team calendar (who is out, not their specific balance). Managers can see their direct reports’ balances, and HR can see all balances.
What happens if I forget to log in and the leave year resets?
Leave Balance handles year-end processing automatically. Your unused leave carries over (if your policy allows) and your new entitlement appears on the home screen. You do not need to take any action.
Can I request retroactive leave?
Yes. If you forgot to submit a leave request for a day you were away, you can backdate the request in the portal. The request will show as retroactive in your history.
Can I download my leave records?
Yes. The profile tab includes a “Download Summary” option that generates a PDF of your leave balances, history, and policy assignment. This is useful for personal records or visa applications.
Does the portal work in different languages?
The Leave Balance interface is currently available in English. We are working on additional language support for future releases.
leave emails? Track your employee's leave with Leave Balance